Solar Dehydrator DIY Plans
Why Build a Solar Dehydrator? A Sustainable Solution for Food Preservation
Solar dehydrators offer an eco-friendly way to preserve food without relying on electricity. By harnessing sunlight, they remove moisture from fruits, vegetables, and herbs, extending shelf life while retaining nutrients. Unlike electric dehydrators, solar models reduce energy costs and carbon footprints, making them ideal for off-grid living or sustainable homesteads. They’re also low-maintenance and can be built using recycled materials, aligning with zero-waste principles. Whether you’re a gardener with surplus produce or a prepper seeking self-sufficiency, a solar dehydrator transforms seasonal abundance into year-round sustenance.
Essential Components of a Solar Dehydrator
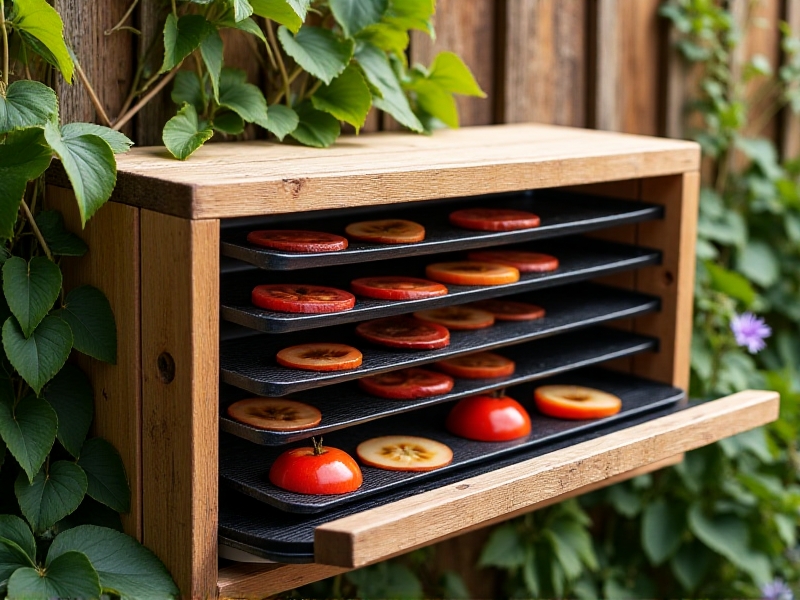
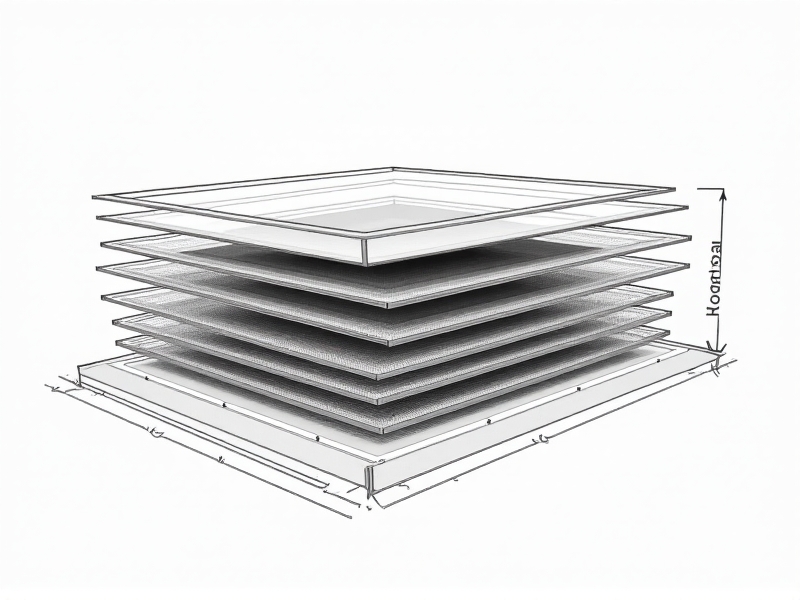
A basic solar dehydrator consists of three key elements: a heat collector, a drying chamber, and ventilation. The heat collector (often a dark-painted metal sheet) absorbs sunlight, warming incoming air. The drying chamber houses food on mesh trays, allowing warm air to circulate. Ventilation slots or chimney ducts let moist air escape, creating continuous airflow. Insulation around the chamber minimizes heat loss, while a transparent lid or glass panel traps solar radiation. Proper design ensures temperatures stay between 95°F and 140°F—ideal for dehydration without cooking the food. Materials like food-grade mesh, untreated wood, and UV-resistant glass ensure durability and safety.
Gathering Materials: Budget-Friendly and Eco-Conscious Options
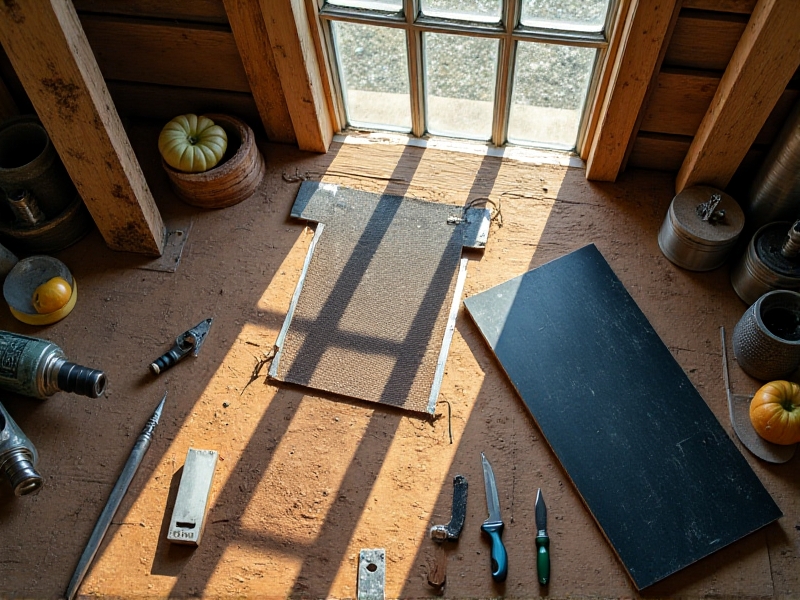
Building a dehydrator requires basic carpentry skills and accessible materials. For the frame, reclaimed wood or plywood works well. Use black aluminum sheets or repurposed metal roofing for the heat absorber. Old window panes or polycarbonate sheets make excellent transparent lids. Stainless steel mesh or bamboo screens serve as drying trays—avoid plastic-coated materials. Hinges, nails, and non-toxic paint (black for the absorber) round out the list. Many builders salvage materials from thrift stores or construction sites, keeping costs under $50. Prioritize food-safe, weather-resistant components to ensure longevity and prevent contamination during drying.
Step-by-Step Assembly: From Frame to Finish
Start by constructing a rectangular wooden box (3x2 feet is ideal). Angle the top to allow sunlight penetration—45 degrees works for most latitudes. Line the base with black metal, then add insulation (foam board or straw) beneath. Install ventilation holes at the base and a chimney at the top. Assemble mesh trays on sliding rails inside the drying chamber. Attach the glass lid using hinges for easy access. Paint exterior surfaces with UV-protective sealant. Test airflow by lighting incense inside: smoke should rise steadily through the chimney. Adjust vent sizes if airflow stalls. This hands-on project can be completed in a weekend, even by novice builders.

Maximizing Efficiency: Placement and Seasonal Tips
Position the dehydrator in full sun, angled toward the equator. Rotate it periodically to follow the sun’s path. In humid climates, add desiccant packets between trays or use a small solar fan to boost airflow. During cloudy days, partial dehydration followed by oven finishing (at lowest heat) prevents spoilage. Thin, uniform slices dry faster—aim for ¼-inch thickness. Avoid overcrowding trays; leave space for air circulation. Track internal temperature with a probe thermometer, shading the unit if it exceeds 140°F. In winter, insulate the sides with bubble wrap or relocate the dehydrator to a sunroom. These tweaks ensure reliable performance year-round.
From Garden to Pantry: Top Foods to Dehydrate
Fruits like apples, bananas, and berries become shelf-stable snacks. Vegetables such as tomatoes, zucchini, and peppers work well in soups or stews. Herbs retain flavor better when air-dried than oven-dried. For proteins, marinate lean meats (jerky) or dry beans for storage. Experiment with fruit leathers by pureeing overripe produce and spreading it on parchment-lined trays. To prevent browning, pre-treat fruits with lemon juice or ascorbic acid. Store dehydrated goods in airtight containers with oxygen absorbers. Properly dried foods last 6–12 months, preserving summer’s bounty through colder months.
Maintenance and Problem-Solving: Keeping Your Dehydrator Running Smoothly
Clean trays after each use with vinegar to prevent mold. Inspect the glass lid for cracks before each season—replace if fogging or damage occurs. Reapply black paint annually to maintain heat absorption. If food isn’t drying, check for blockages in vents or adjust tray spacing. Combat pests by covering vents with fine mesh. During prolonged rain, move the unit indoors to avoid wood warping. With occasional upkeep, a well-built dehydrator can last over a decade, becoming a cornerstone of your sustainable kitchen.